

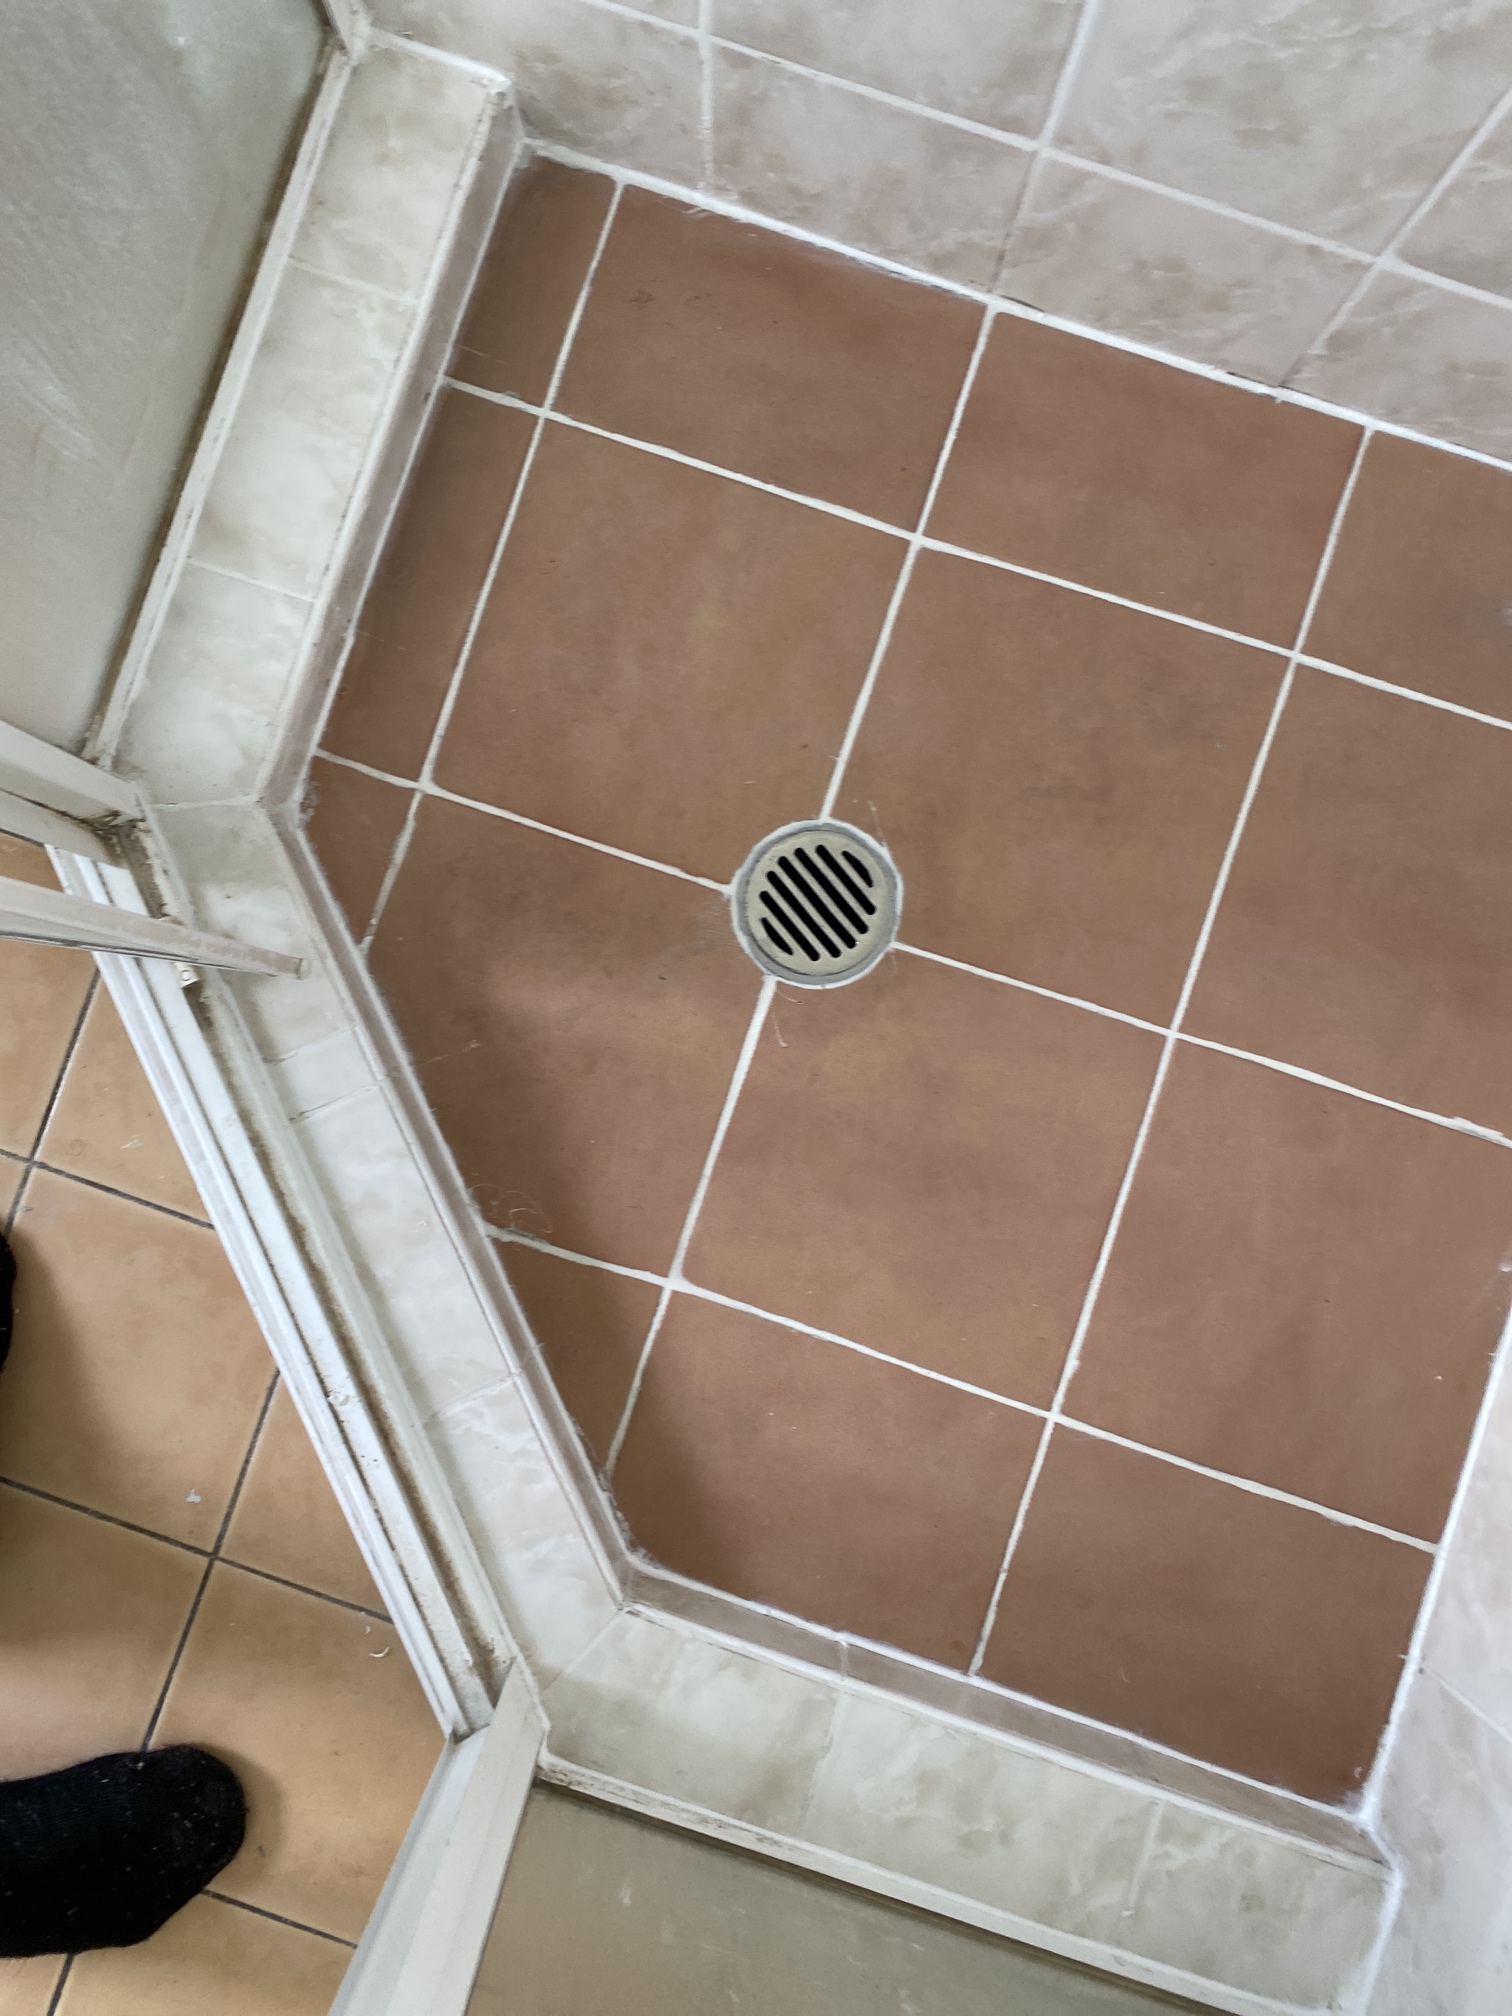
Your bathroom is often the first place you visit in your home. So, a clean and hygienic bathroom should be available for you. It is essential for both comfort and health in any home. Over the time, grout in your shower can deteriorate leading to mould and stains. They just look unsightly and also pose health risks.
Shower regrouting is a practical solution for your residence. This can lead to a refresh of the appearance of your shower tiles. It can even maintain a sanitary environment. Read on as we explore the benefits of shower regrouting in this article. Here, we will also highlight the step-by-step process involved.
Step-by-Step Process of Shower Regrouting
[1] Assessment and Preparation:
Begin by assessing the condition of the existing grout. Identify areas with cracked or missing grout that need attention. Clean the tiles thoroughly to remove any dirt or mold using a suitable cleaner and scrubbing brush.
[2] Getting rid of Old Grout:
Use any tool with a grout removal attachment to carefully remove the deep-rooted grout from between the tiles. Ensure that the tiles themselves are not harmed during this process.
[3] Preparing for Regrouting:
After removing the old grout, clean the tile joints to remove any remaining grout dust or debris. Assure the joints are completely dry before proceeding to the next step.
[4] Applying New Grout:
Choose a high-quality grout that is suitable for shower environments and matches the colour of your existing grout. Mix the grout according to the manufacturer’s instructions and apply it evenly into the joints using a grout float.
[5] Smoothing and Cleaning:
Work in small sections, pressing the grout firmly into the joints. Use a damp sponge to smooth the surface and remove surplus grout from the tiles. Rinse the sponge frequently to ensure a clean finish.
[6] Final Finishing:
Allow the grout to cure as per the manufacturer’s instructions. Once cured, buff away any haze on the tiles with a soft cloth. Apply a grout sealer to protect the new grout from moisture and stains, following the recommended drying time.
Picking the Right Materials
Selecting the right materials is crucial for successful shower regrouting. Opt for a grout that is specifically formulated for wet environments and offers mold and mildew resistance. Consider the colour of the grout to match or complement your existing tiles, enhancing the overall aesthetic appeal of your bathroom. Additionally, invest in high-quality tools such as a grout saw and sponge to ensure smooth application and professional results.
Maintenance Tips for Long-lasting Results
Maintaining your newly regrouted shower is essential to preserve its cleanliness and durability over time. Here are some maintenance tips to prolong the lifespan of your regrouted shower:
[a] Regular Cleaning
Clean your shower regularly with a mild, non-abrasive cleaner to remove soap scum and dirt.
[b] Avoid Harsh Cleaners
Chemical cleaners or abrasive scrubbers can damage the grout and tiles.
[c] Ventilation
Ensure adequate ventilation in your bathroom to reduce humidity and prevent mold growth.
[d] Prompt Repairs
Address any signs of cracked or deteriorating grout promptly to prevent water damage and maintain the integrity of your shower.
Final Thoughts
Shower regrouting offers a practical solution for all homeowners. This can be done to enhance the hygiene and longevity of your bathroom. Addressing deteriorated grout prevents water damage and mold growth. So, this can create a healthier environment for you and your family. We hope you understand the importance of shower regrouting after reading this article. You can implement proper maintenance practices for a visually appealing shower for years to come. Go on, and invest in shower regrouting today. This can revitalize your bathroom, and you can enjoy the benefits of a clean and functional shower space.